Note: This will erase all data on the specified disk
Watch a video of this tutorial on YouTube
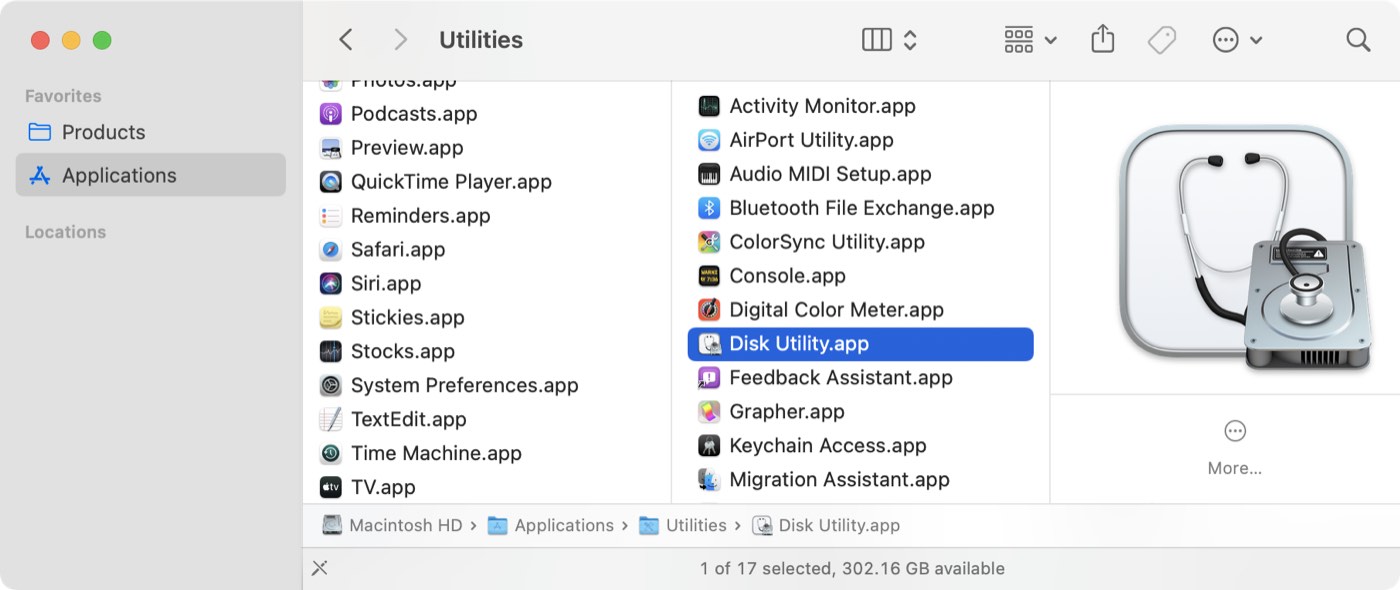
Launch Apple's Disk Utility
Open a Finder window and navigate to Applications > Utilities and double click on Disk Utility.
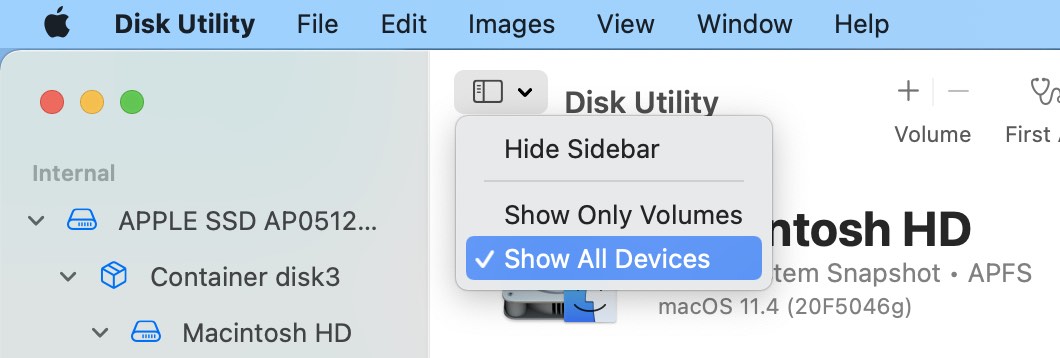
Show All Devices
Disk Utility offers a very simplified view of your devices by default. Unfortunately, this hides the devices that you need to select to modify the partitioning of your backup disk. Before doing anything else in Disk Utility, choose Show All Devices from the View menu, or from the View popup button in Disk Utility's toolbar.
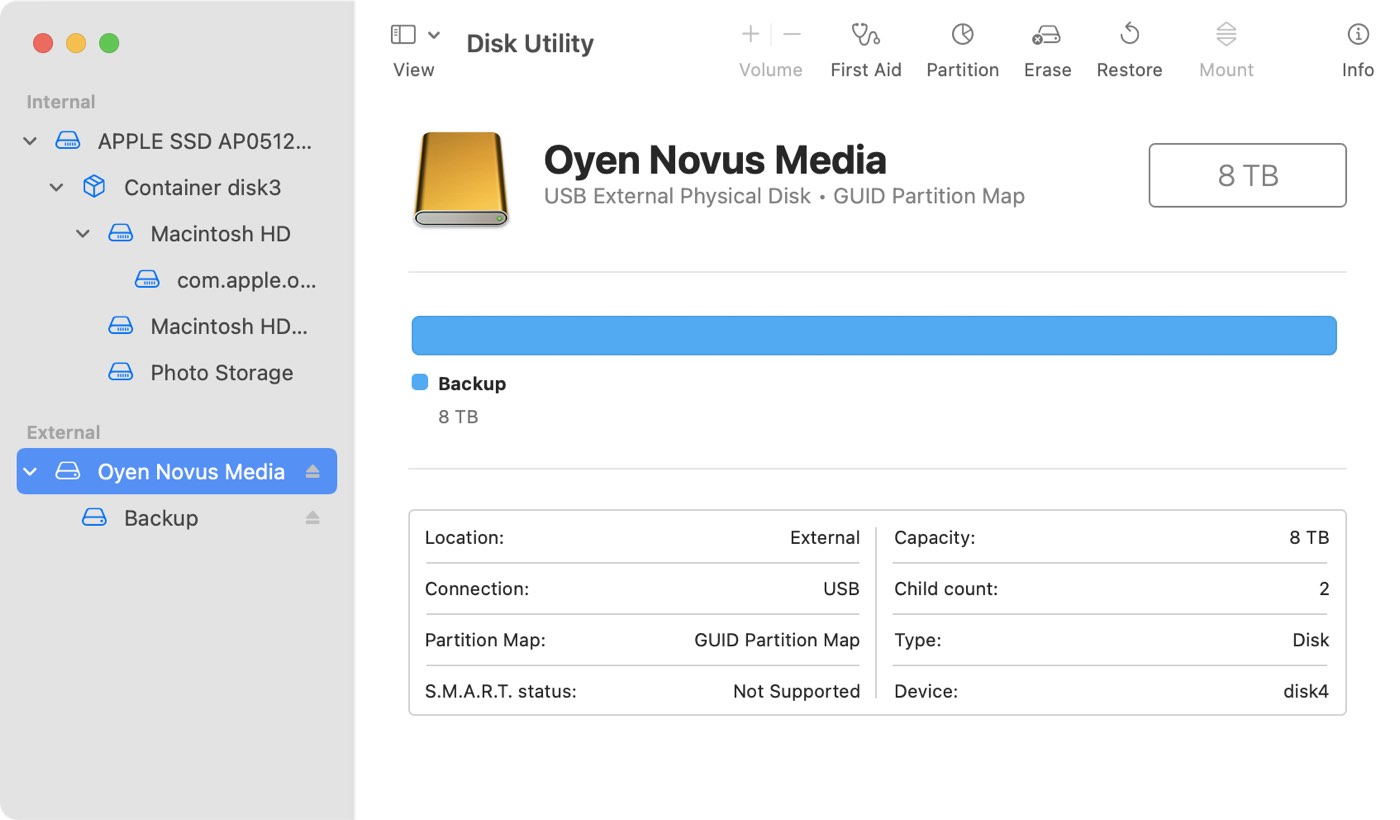
Select the destination disk
Click to select the disk that you would like to use as the destination for your CCC backup or restore task.
If you're erasing the internal storage on your Mac for a restore procedure
Select the "Macintosh HD" volume. Don't erase the whole internal device, that can make the restore procedure take longer. When you erase this volume, choose the Erase Volume Group option when prompted by Disk Utility.
If you're erasing a backup disk
The name of a new disk will often include the manufacturer’s name (e.g. WD My Book 111D Media...). Please pay particular attention to selecting the disk, not one of the volumes on the disk. You must select the whole disk to correctly initialize the device.
Unmount any volumes on the specified disk
Disk Utility occasionally has problems with unmounting a volume while attempting to erase it (e.g. because Spotlight prevents the unmount request). Click the Eject button next to any volumes on the disk to preemptively unmount them before erasing the disk.
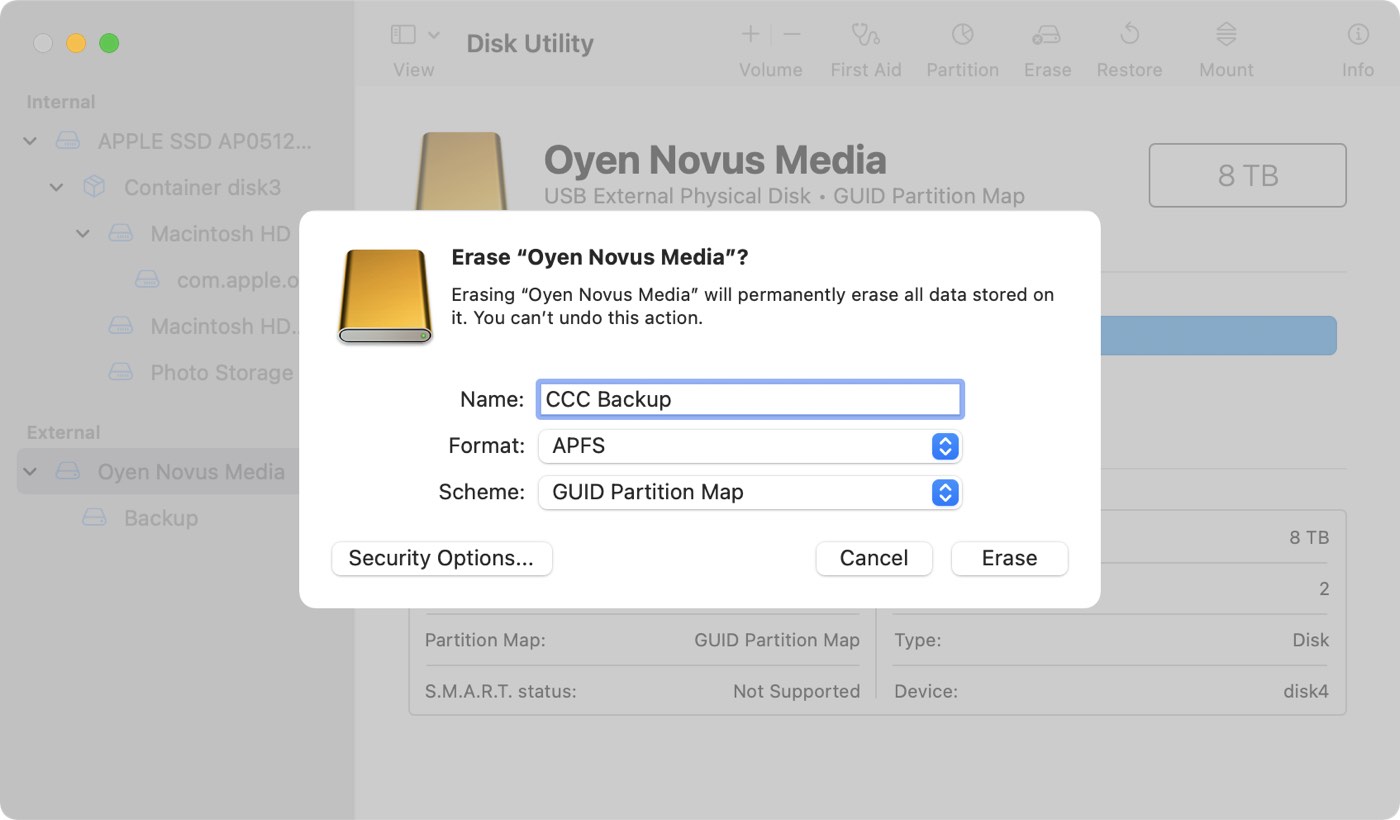
Erase the specified disk
Click the Erase button in Disk Utility's toolbar, then configure the name, format, and partitioning scheme of your disk. You can set the name to whatever you like, but when formatting a backup disk, set the Scheme to GUID Partition Map. If you do not see the Scheme option (and you're erasing an external storage device), go back two steps and select the whole disk device, not one of the volumes on the disk.
Choosing a Format for your destination volume
Choose APFS or APFS Encrypted. If you intend to create a legacy bootable backup, do not choose APFS Encrypted; rather you will encrypt your backup by enabling FileVault while booted from the backup volume.
Click the Erase button when you are finished configuring the name, format, and partition scheme for your destination. If you are given an Erase Volume Group choice, choose that option to erase the whole volume group.
Add a partition (optional)
If you're backing up multiple source volumes to this same backup disk, you can keep things organized by creating partitions. If you formatted your backup volume as APFS, select the volume and choose "Add APFS volume..." from Disk Utility's Edit menu. If you chose another format, select the backup volume, then click the "Partition" button in Disk Utility's toolbar.
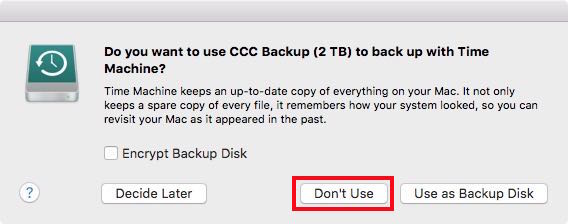
Don't Use Time Machine
When you're prompted to use your new volume with Time Machine, click Don’t Use. You may use the same backup disk for both Time Machine and CCC backups, but if you do so, you must use a dedicated partition for the Time Machine backup (not simply an additional volume in the APFS container). Otherwise Time Machine will consume all available space on the backup volume and make it impossible for CCC to use the backup volume.