Attach the backup disk to your computer
See the Choosing a backup drive section for additional advice on this subject.
Format the disk
Before you can use a new disk for a backup of macOS, you must first initialize it with the correct format using Disk Utility.
See the Preparing your backup disk for a backup of macOS section of the documentation for step-by-step instructions.
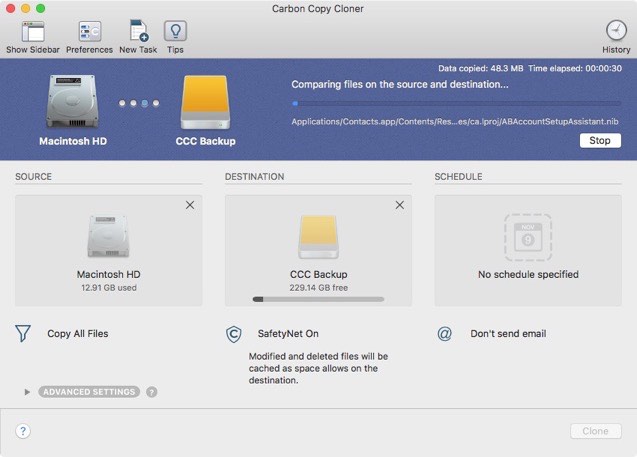
Open Carbon Copy Cloner
Applications > Carbon Copy Cloner
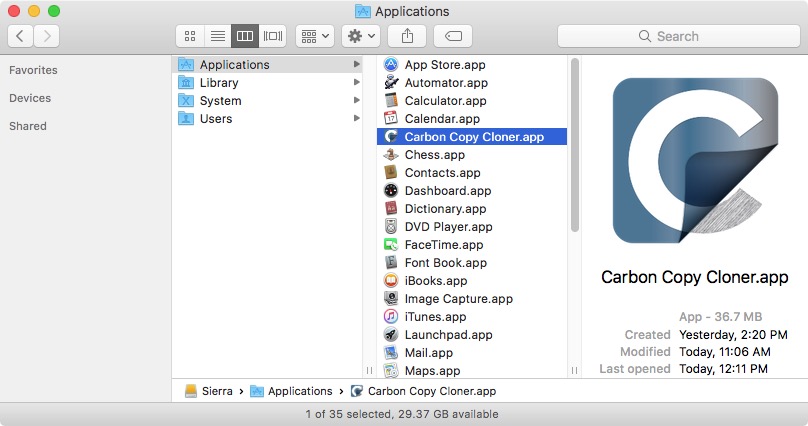
When you open CCC for the first time, you'll be guided through your first task setup. If you prefer to not be guided, click the Tips button in CCC's toolbar.
Select the Source
Click on the dotted box under the SOURCE heading to view available sources.
See also: "Do I need to create separate backup tasks for "Macintosh HD" and "Macintosh HD - Data"?"
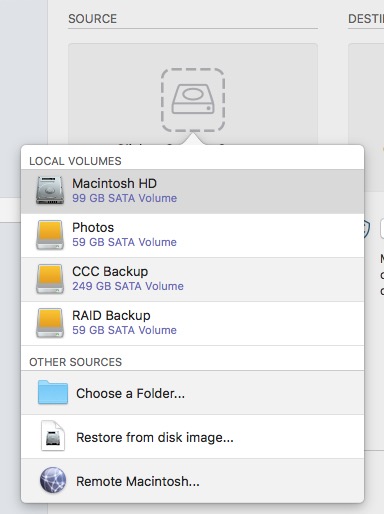
Select your startup disk from the menu of available volumes for the source.

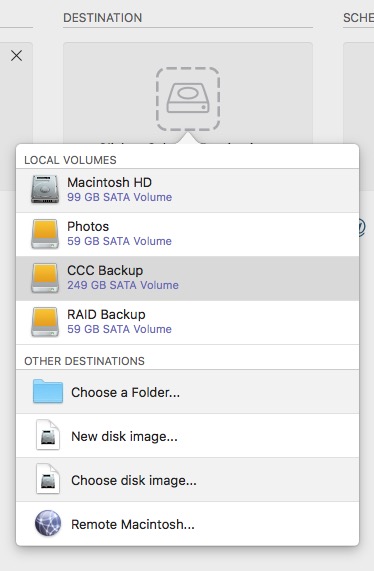
Select the Destination
Click on the dotted box under the DESTINATION heading to view available destinations, then select your new backup drive from the menu of available volumes for the destination.
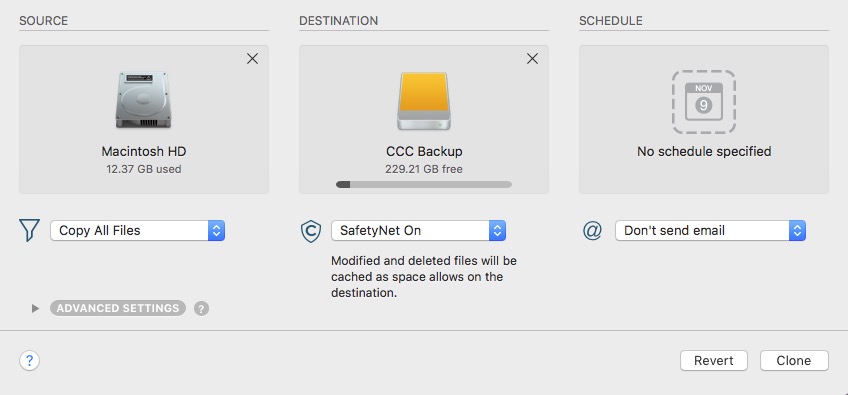
Begin the Clone
Click Clone. The first time you run a backup task, CCC will prompt you to authenticate so it can install its privileged helper tool. This helper tool is required to perform privileged tasks, e.g. to copy system files.
Congratulations - your first clone is in progress!
Smart Updates
If you run the same backup task again, CCC will copy only the items that have changed. There's no special setting to achieve this behavior, simply click the Clone button again or configure your backup task to run automatically on a scheduled basis.